Q7 Wifi Camera Firmware Hacks
понедельник 22 апреля admin 90
Contents in this user guide: 1. Q7 wireless IP camera software / app. Android system operation. IPhone system operation. Notes: You need to wait 30 seconds when start the product, then it will launch the WiFi signal and the camera is in the start stage.
Via SSH / Serial • Download firmware file 'upd_isa.camera.isc5.bin.extracted' from: • Extract the file and place the files in the root of your SDCard on the first (FAT) partition 'mmcblk0p1' • Connect with Serial to the camera (via PUTTY, Serial 115200) Or if the device is hacked, activate Dropbear and connect via SSH to the camera. • Login to the camera using 'root/ismart12' • Place the SDCard in the device (it should mount the SDCard on /media/mmcblk0p1) • Copy the file '0.elf' to the folder '/tmp' • Rename 'snx_autorun.sh' on the SDCard to another name, fi: 'snx_ar.sh' • cd /tmp • Execute the executable: './tmp/0.elf' (!!not from the sdcard!!) • Check the output for 'fwupdate end!' • Eject SDCard • Reboot device with: reboot Via SDCard • Download firmware file 'upd_isa.camera.isc5.bin.extracted' from: • Extract the file and place the files in the root of your SDCard on the first (FAT) partition 'mmcblk0p1' • Rename '0.elf' to 'FIRMWARE_660R.bin' • Push setup button while powering up the device. The device should auto reboot after flashing.
The device should now be factory reset. Kaaloo tilekter mugalimge. Thus requires the setup process (setup button, qr code scan, etc.) It should give the following output on the console: image table size:0x0000003c index:0 reservations:0x12345678 offset:0x00005e84 size:0x00001000 flash start address:0x00001000 flash end address:0x00001fff index:20 reservations:0x12345678 offset:0x00006e84 size:0x002e5c54 flash start address:0x000c0000 flash end address:0x003bffff index:40 reservations:0x12345678 offset:0x002ecad8 size:0x006d3070 flash start address:0x003c0000 flash end address:0x00abffff fwupdate end! Technical background: Apparently the 0.elf file is a combination of: • flash writer code •????? Image (address: 0x00001000, 4.096 bytes) • kernel image (address: 0x000C0000, 3.038.292 bytes) • rootfs image (address: 0x003C0000, 7.155.824 bytes).
• Smart IP Camera Q7, S5 Quick Guide English Please read this instruction before using and keep it for future reference. Visit our website www.hi-kam.com for more information. High Infinity Germany, Jan. • acking List Model Power adaptor √ √ Bracket √ √ WiFi Antenna √ Alarm Antenna √ Quick Guide √ √ Screws package √ √ SD Card Optional Optional Wireless Safety Switch Optional.
• nterface Blink Arm light Alarm Enabled Alarm Disabled Record light SD Card detected Recording No SD Card Alarm light Alarm was triggered No Alarm Network light Networking Communication No network Networking Communication Not network Double color light(Blue) SD Card detected Recording No SD Card Double color light(Pink). • Download App Search “HiKam” in App Store or Google Play. Download and install the app, it is free for HiKam user. Follow the instruction on the HiKam App to register user account.
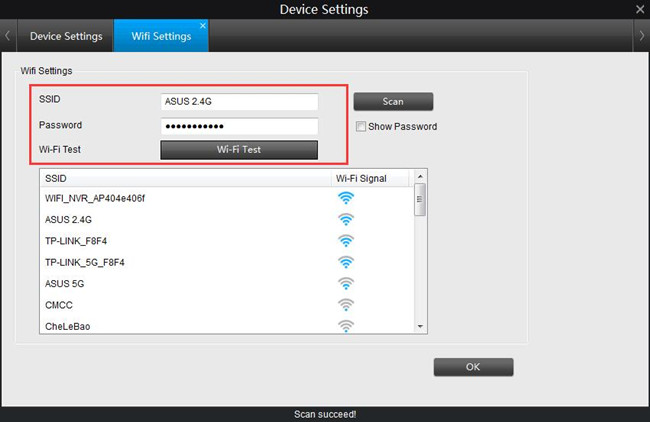
Configure Network You can use Ethernet or WiFi to connect the camera to the router. • The yellow LED on HiKam Q7 and the blue LED on HiKam S5 indicates you the network is configured correctly. Input the device ID that you can find on the packaging box.
HiKam can also be used on PC. You have to connect the camera to the router firstly then download and install PC software from our website. Device ID and initial password can be found. • Make sure the contact area of the memory card is facing down.

Push the card in, until you hear a click. The blue LED on HiKam Q7 and the pink LED on HiKam S5 indicates you the valid SD card is inserted correctly. • & Video record doesn’t work! My Camera -> Setting -> Record Settings, to choose how to record and switch it on Make sure the SD Card is inserted correctly and the corresponding LED is on. Make sure the SD Card is not kaput. If necessary, check the SD Card on your PC Forget the device password!